In the previous post, we discuss a free opensource and very useful software firewall distribution (pfsene). At the very first stage, you need to decide which method is suitable for you for installing pfsense in your own pc or virtual machine. There are two effective methods are available, First is from CD or DVD and second is from using a Bootable USB stick.
You can Learn more interesting tricks on - www.itsupportwale.com
If you want to use CD or DVD you need to download the ISO file of the pfsense and if you want to install it using a bootable USB stick then you need to download the USB memstick image of the pfsense distribution. Here is the list of available downloads (Click Here).
And here are the links for downloading the images :
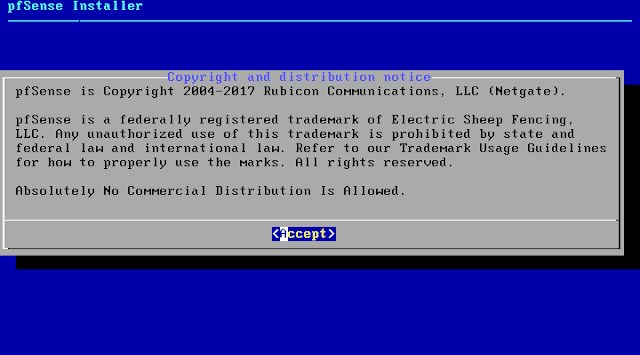
Here select and enter on Accept these settings.

Because the next step is destructive to whatever is currently on the target disk, confirmation is required to proceed. Select OK then press Enter.

The install will proceed, wiping the target disk and installing pfSense. Copying files may take some time to finish.
After the files have been copied to the target disk, a choice is presented to select the console type. Standard defaults to the VGA console. Embedded defaults to serial console.

Now the system must reboot so that pfSense may start from the target disk. Select Reboot and then press Enter. Be sure to remove the disc or USB memstick so that the system will not attempt to boot from there next time.


This is it. Yes you have installed your first pfsense firewall distribution. After comletion of the installation process the following screen is appear.

And after this screen you have to configure the pfsense network settings and web configurator settings which is covered in our next post. So stay tuned for further progress in this series.
You can Learn more interesting tricks on - www.itsupportwale.com
If you want to use CD or DVD you need to download the ISO file of the pfsense and if you want to install it using a bootable USB stick then you need to download the USB memstick image of the pfsense distribution. Here is the list of available downloads (Click Here).
And here are the links for downloading the images :
32-Bit ISO Image of pfsense 2.3.4 (For CD/DVD)
64-Bit memstick image of pfsense 2.3.4 (For USB)
After downloading the image burn the CD/DVD with the ISO or make the Bootable USB stick.
The bootable USB stick is can easily be created by using RUFUS or Win32DiskImager. Just open the software select the USB stick and select the ".img" image file which is downloaded earlier and click on start. (Note: Please select the USB device carefully. The wrong selection of other drives are resulting in data loss.)
Now restart your pc in which you want to install pfsense and boot from CD/DVD or USB stick which is bootable. you can the following screen at the very first stage.

For simple and quick installation select quick/Easy install.
Note: The Quick/Easy Install option assumes the first located disk is the intended target, so be sure there is only one SSD/HDD is present in the system.
NOTE: A GEOM mirror (software RAID) may also be configured by choosing Custom Install and then invoking the option to create the mirror and select the disks. Once that has been completed, then it is possible to return to the Select Task screen and proceed with a Quick/Easy Install
Because the next step is destructive to whatever is currently on the target disk, confirmation is required to proceed. Select OK then press Enter.
The install will proceed, wiping the target disk and installing pfSense. Copying files may take some time to finish.
After the files have been copied to the target disk, a choice is presented to select the console type. Standard defaults to the VGA console. Embedded defaults to serial console.
Now the system must reboot so that pfSense may start from the target disk. Select Reboot and then press Enter. Be sure to remove the disc or USB memstick so that the system will not attempt to boot from there next time.
This is it. Yes you have installed your first pfsense firewall distribution. After comletion of the installation process the following screen is appear.
And after this screen you have to configure the pfsense network settings and web configurator settings which is covered in our next post. So stay tuned for further progress in this series.
Comments
Post a Comment